Overview
Theme Setup allows you to customize the appearance of your RXC 10 interfaces.
Prerequisites
- Access to the RXC 10 interface.
Steps
Location
- Click any Menu button.
- Click on the Setup tab.
- Select Theme Setup in the Business Setup section.
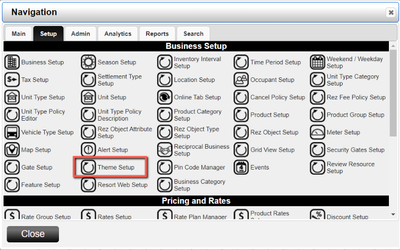
Theme Setup Interface
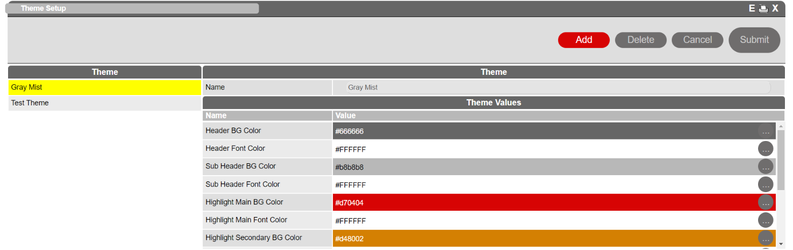
The Theme Setup interface loads with the theme names displayed in the left panel and the corresponding theme attributes displayed in the right panel.
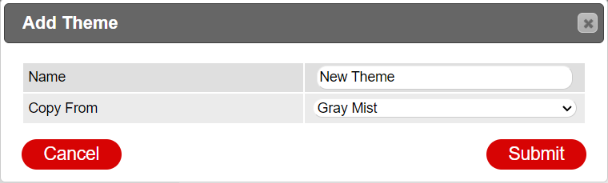
Adding a Theme
- To add a new theme, click the Add button in the upper right corner.
- In the Add Theme dialog box, enter a Name for your theme and Copy From a previously made theme to use as a template.
- Click Submit to create the new theme.
Editing a Theme
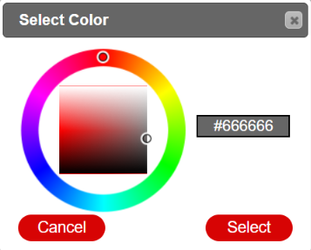
To edit a new or existing theme:
- Go to the right panel.
- Choose an attribute to edit.
- Click the three-dot button to open the Select Color dialog.
- Adjust the color selectors until you achieve your desired color.
- Click Select to finalize your selection.
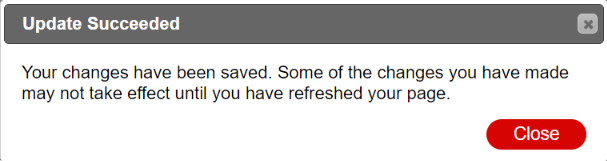
- Click Submit to save your changes or Cancel to discard them.
Deleting a Theme
To delete a created theme:
- Select the desired theme.
- Click the Delete button.
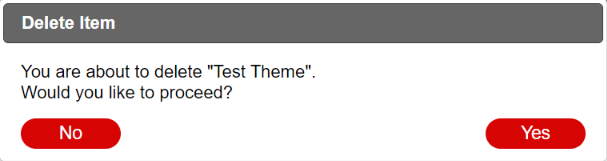
- In the Delete Item dialog, click Yes to delete the theme or No to keep it.
Activating a Theme
To activate a new theme:
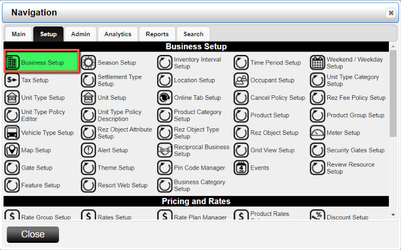
- Click any Menu button.
- Click on the Setup tab and select Business Setup in the Business Setup section.
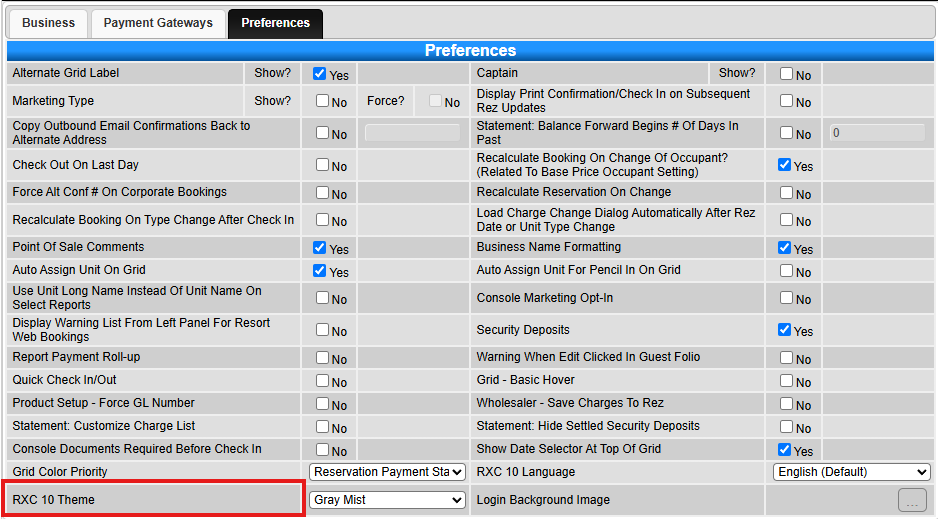
- Select the Preferences tab.
- See RXC 10 Theme at the bottom left, select the drop-down to choose a theme.
- Add a change control comment.
- Click Submit at the top of the panel.
Troubleshooting
- Ensure all steps are followed in sequence.
- Verify that you have the necessary permissions to access the Theme Setup.